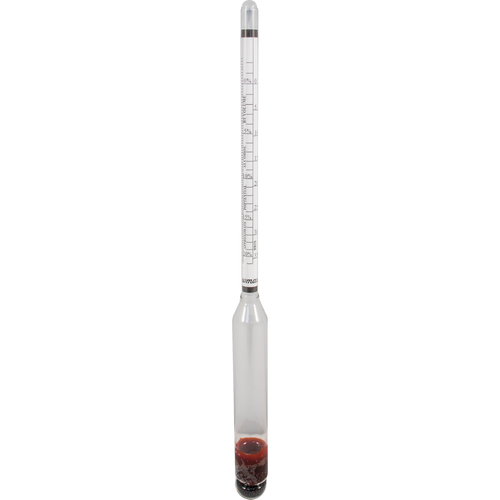
Hydrometers are very important in brewing beer as they measure the density of beer to ultimately determine the alcohol content of it (ABV). It’s not a bad idea to have 2 of these as inevitably one will roll off the table and break. I know from experience. This particular one has 3 scales within it – Specific Gravity, Potential Alcohol and Brix. I’ve listed a short description of each below.
Specific Gravity
Specific Gravity is defined as “ratio of the density of a substance to that of a standard substance”. In brewing what this means is it’s measuring the density of the beer compared to water. Your beer has sugars, starches, hop particles, oils, minerals, etc that all add to the density of it.
In determining the ABV of your beer you would take an original reading before fermentation, sometimes called “original gravity” (make sure to write it down), and a final reading after fermentation is done. Once you have both readings you subtract the final gravity from the original gravity (ex: SG = 1.06 – FG = 1.01 = .05) then multiply by 131.25, which in this case would give you 6.56% ABV. This information is also included in the instructions of the hydrometer.
Potential Alcohol
The hydrometer has a chart inside of it that will literally show the potential % of alcohol before fermentation provided the yeast consumes all of the sugars.
Brix
Brix is defined as “the number of grams of sucrose present per 100 grams of liquid”. On a scale of 1-100, using the Brix value on the hydrometer before fermentation, multiply that value by .59 to determine the approximate ABV. (ex: 16 *Bx multiplied by .59 = 9.44% ABV approx)
Beer and Wine Hydrometer with Temperature Reading and Correction Scale
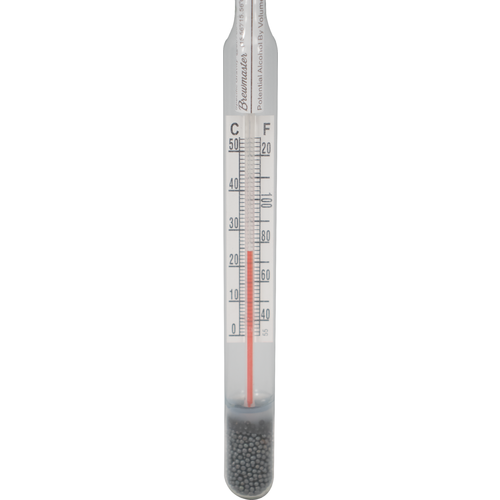
This hydrometer has the same 3 scales in at as the triple scale above (Specific Gravity, Potential Alcohol, Brix) but with an added temperature reading so that you can take both a gravity and temperature reading at the same time. In addition to that it has a built in chart to tell you how many points you need to add or subtract to your gravity, based on the temperature – hence the “correction scale”.
This is considered an upgrade to the one above and for not much more money.
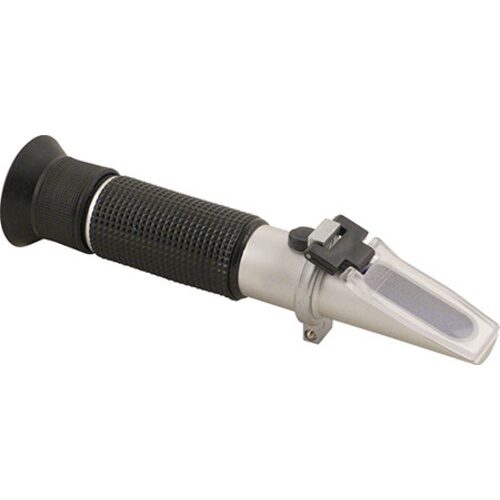
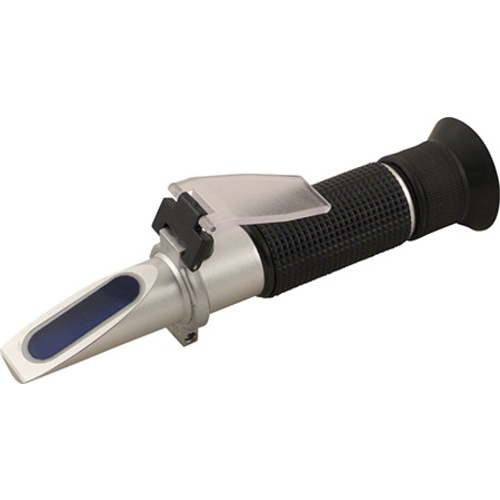
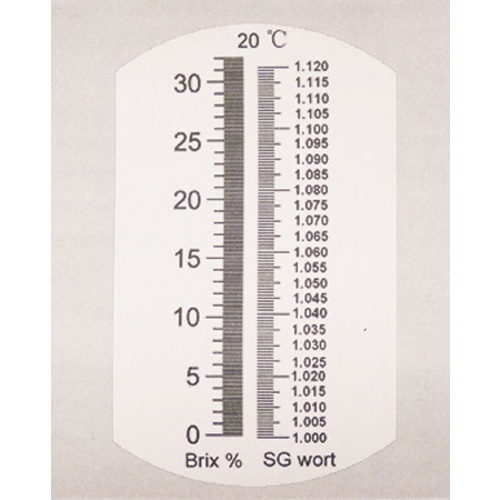
A refractometer is another way of determining the ABV of your beer. Unlike a hydrometer, a refractometer does not need the wort to be cool enough to take a reading. You can actually take readings at any point along the brewing process, including the boil and /or sparging stages. You only need a drop of liquid on the glass to get an instant reading.
This refractometer comes with 2 scales – the Brix Scale and the Specific Gravity Scale that are both described above under the Triple Scale Hydrometer.
One thing NOT to do with these is take a reading with alcohol present, they will not read correctly. These are to be used before fermentation.
Stainless Steel Wort Chiller – 25ft x 3/8″
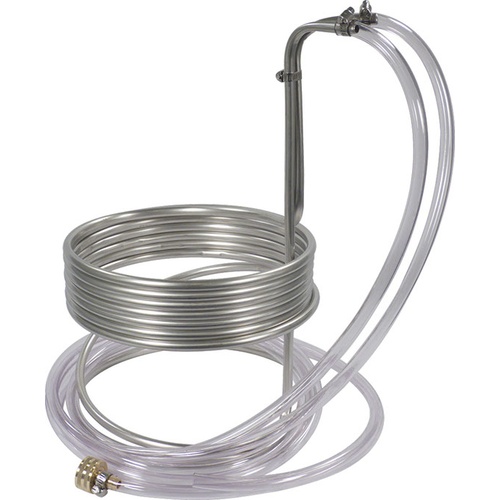
A wort chiller is not mandatory in brewing beer but it sure is helpful in saving time. Without it you have to let the wort naturally cool down to a temperature that you can pitch your yeast at and that is many many hours. I’ve done it several times and would usually just let it sit overnight to let it cool off. With a wort chiller you immerse this in your hot wort and run a steady stream of cold water through it so that it cools the wort down in minutes and not hours.
This particular one is made of stainless steel and comes with 8ft of vinyl tubing for each port. A female garden hose connects to the included brass hose adapter on the incoming side and the warmer water flows out of the outgoing side. Stainless Steel takes a little longer to cool down than copper but this option is more affordable and it doesn’t tarnish between uses.
Here is a link showing the different types of chillers. https://www.morebeer.com/videos/73
Another nice feature of this chiller is that the coils are at the top where the majority of the heat is which, makes the cooling process more efficient.
Copper Wort Chiller 25ft x 3/8″
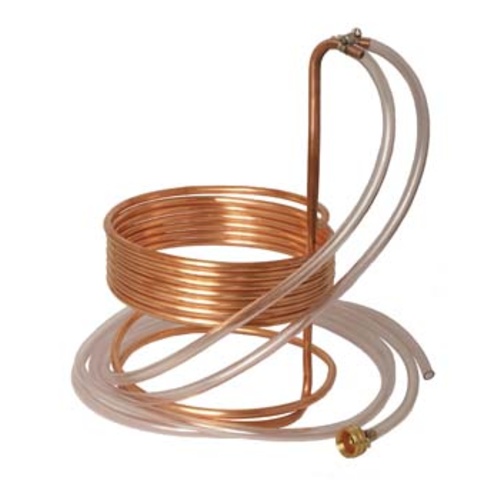
A wort chiller is not mandatory in brewing beer but it sure is helpful in saving time. Without it you have to let the wort naturally cool down to a temperature that you can pitch your yeast at and that is many many hours. I’ve done it several times and would usually just let it sit overnight to let it cool off. With a wort chiller you immerse this in your hot wort and run a steady stream of cold water through it so that it cools the wort down in minutes and not hours.
Here is a link showing the different types of chillers. https://www.morebeer.com/videos/73
This particular one is made of copper and comes with 8ft of vinyl tubing for each port. A female garden hose connects to the included brass hose adapter on the incoming side and the warmer water flows out of the outgoing side. Copper cools down faster than stainless steel.
Another nice feature of this chiller is that the coils are at the top where the majority of the heat is, which makes the cooling process more efficient. The connection feeds are bent down at an angle so that if there is any dripping from the connection points, it will drop outside of the kettle and not into the beer.
Wort Chiller Plate Chiller – 40 Plate
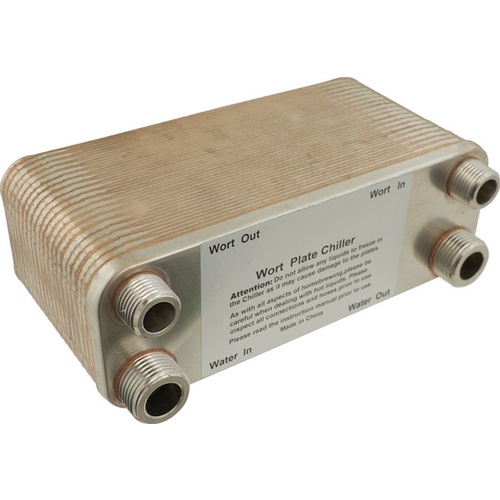
This is another form of wort chiller but instead of immersing this directly into the hot wort you run the hot wort into this chiller through the wort inlet and at the same time you run cold water through the water inlet. Through a series of internal plates a heat exchange takes place and in turn cools the wort. You will need some high temperature rated vinyl hosing for the wort inlet.
Here is a link showing the different types of chillers. https://www.morebeer.com/videos/73
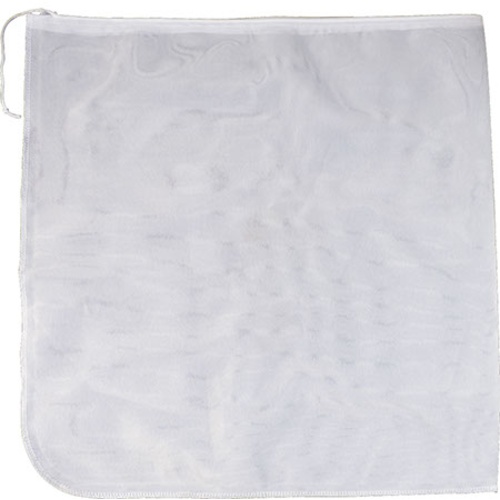
This mesh bag is a good size for 1-2 gallon all grain recipes. It’s small enough that you could probably use it for your hops as well.

This larger mesh bag is a good size for 5-6 gallon all grain recipes. It comes with a drawstring to cinch it tightly to your brewing kettle.
Drawstring Mesh Bag 31.5″ x 21.7″
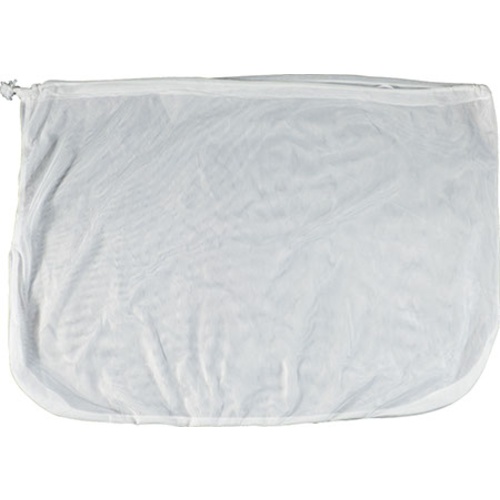
Even though this looks like a diaper, I assure you it’s not. It’s a little bit bigger than the bag above. Recommended for 5-6 gallon all grain recipes. You can utilize it for whole hops as well. It also has a drawstring for cinching down tightly on your brew kettle.
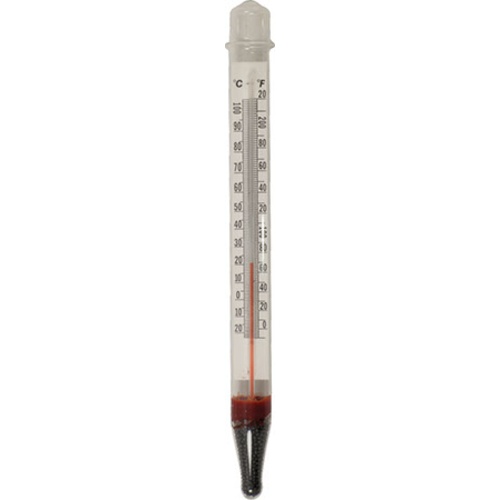
I just think this is a cool little item. It’s pretty self-explanatory in that it’s a thermometer that you put directly into your mash as you’re brewing and it floats, to give you real time temperature readings throughout your brewing process. It has a range on 0-220 degrees Fahrenheit, is 8″ in length and is made of glass.
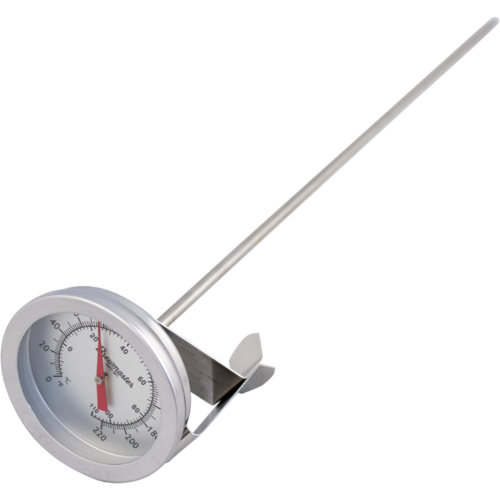
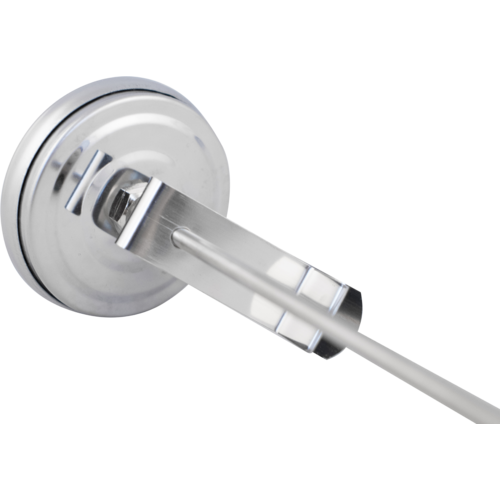
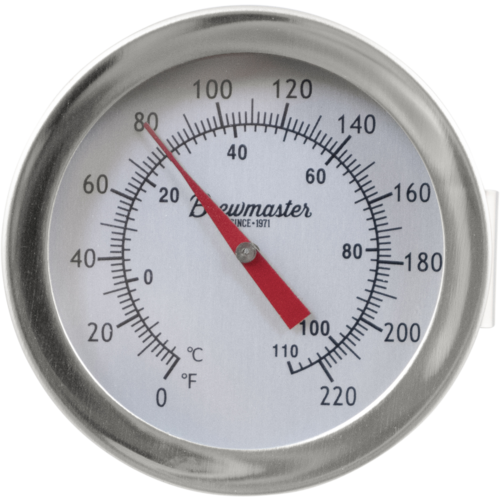
I honestly don’t think you need much more than this thermometer if you’re brewing in a kettle. It just clips to the side of the kettle as you’re brewing your wort so you can get real time temperature readings through the whole brewing process. The clip is adjustable on the thermometer to adjust for different depths of kettles. This one is 12″ long with a 2″ dial face and has a temperature range of 0-220 degrees Fahrenheit.
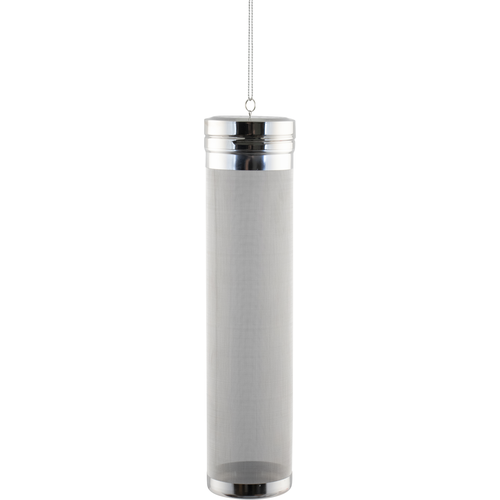
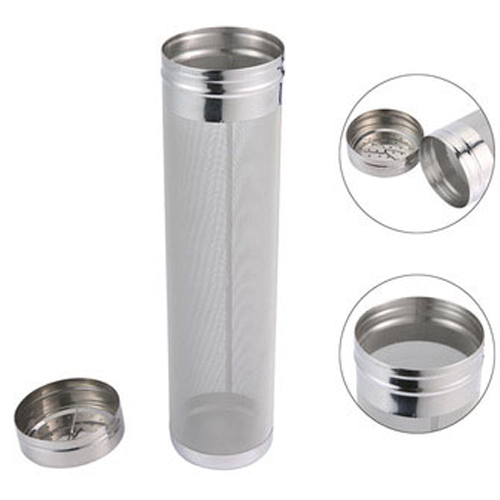
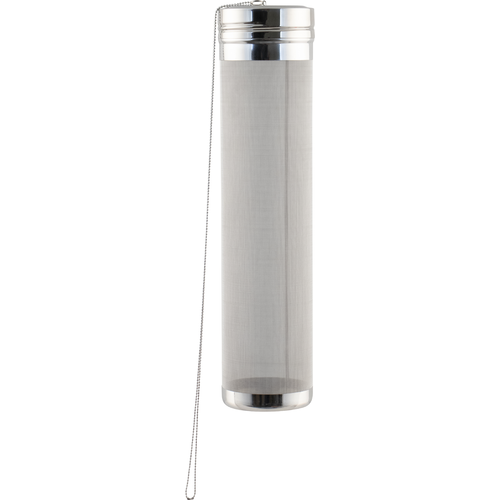
Hops tubes and filters are designed to keep the hops sediment from going directly into your wort while still allowing the oils, aromas and flavors to permeate into it. I really like this hop tube and because of its versatility, I’m going to purchase one myself. Not only will it hold up to 5oz of pellet hops but because it has a lid on it, you can add spices, fruit, wood chips, etc to it and then put into a keg or large mouth fermenter for additional post fermentation flavoring. I think you could get real creative with what you could put in here. It has a chain attached to the lid to easily put in or take out of your liquid. It’s 2.6″ in diameter and 11.8″ tall. In my opinion this is a steal for the price.
Double Handle Hop Filter / Basket 10″ x 4″
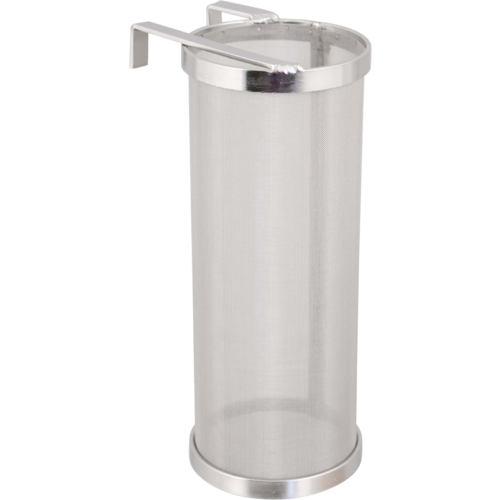
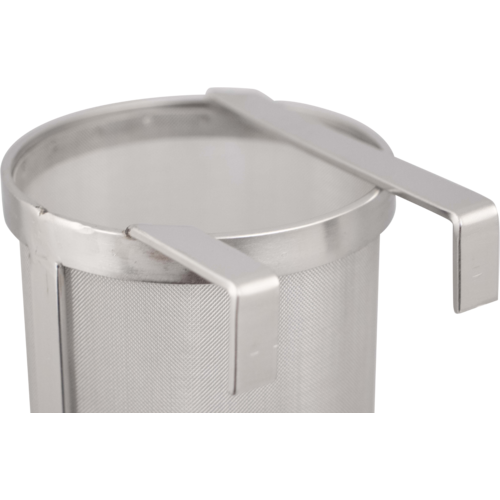
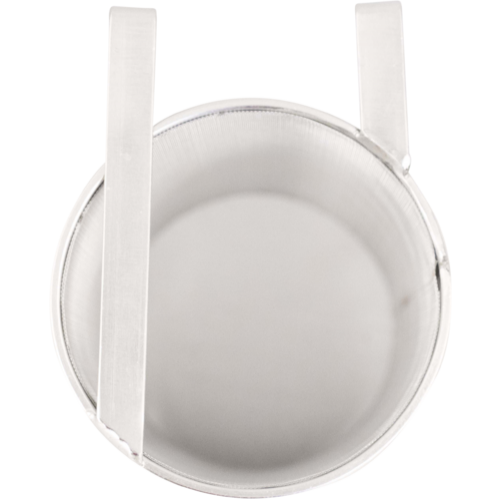
Hops tubes and filters are designed to keep the hops sediment from going directly into your wort while still allowing the oils, aromas and flavors to permeate into it. This is hop filter is made of stainless steel and is 10″ tall and 4″ in diameter. Those dimensions make it a bit more compact so that it doesn’t get in the way of other accessories you might be brewing with. This particular one hangs from the side of your brew kettle and has double handles to make it steadier than a one handled version.
Another feature of this (and I had never thought about it before) is that you can use it as a secondary filter when you’re transferring your liquid from one vessel to another anywhere along the brewing process. It could just be another way to get as much small debris and sediment filtered out of your beer.
Double Handle Hop Filter / Basket 14″ x 6″
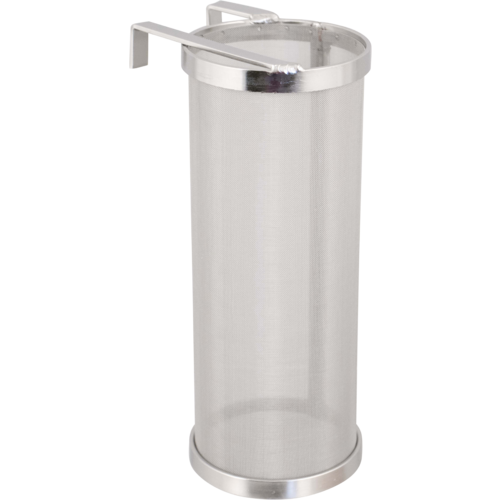
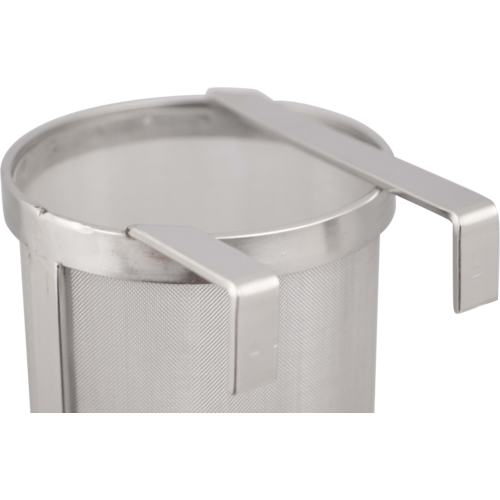
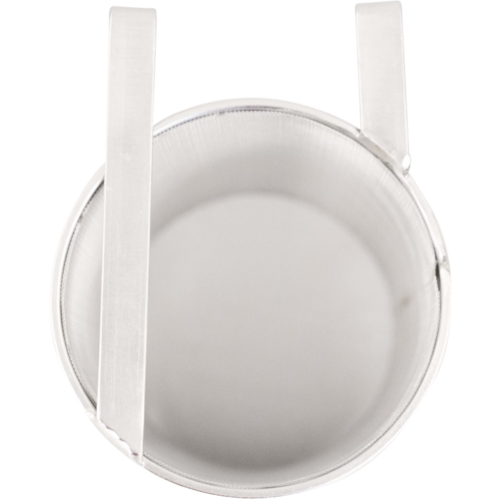
This is the same filter as the one above only bigger. The dimensions on this one are 14″ tall and 6″ in diameter. The bigger dimensions allow you to pack a lot more hops in here for those extra hoppy recipes.
Racking Cane / Siphon Kit Vinyl 1/2″ x 30″
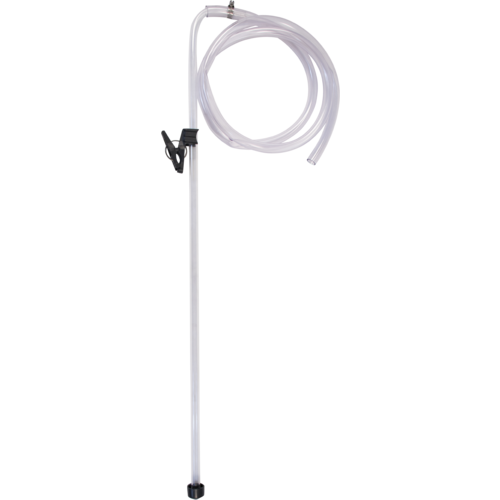
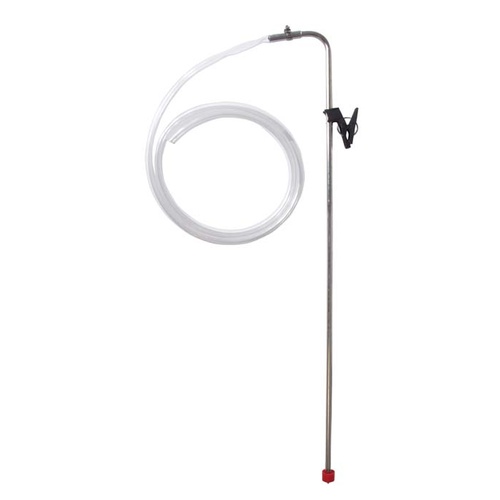
Racking Cane / Siphon Kit Stainless Steel 3/8″ x 26″
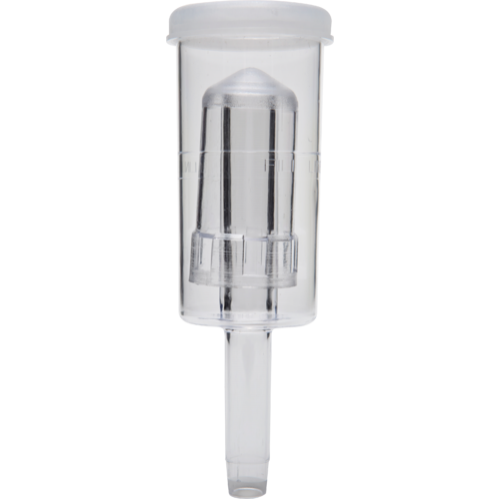
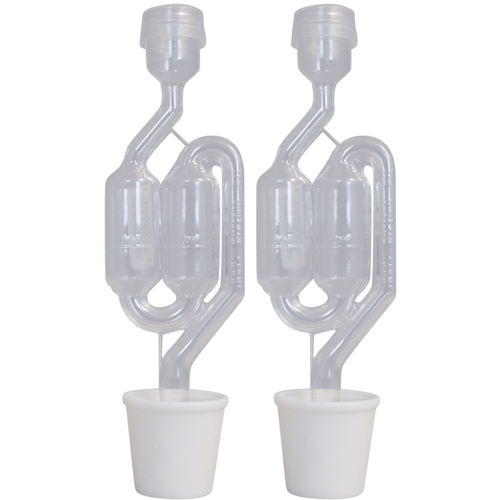
S-Shaped Airlock & Stopper Kit Pack of 2
